How to Create a Good Camera Setup for Recording Public Speaking Videos

Liam Sandford
Liam Sandford is a Head of Marketing, public speaking expert, and 2x Best Selling Author including the book Effortless Public Speaking. He helps ambitious professionals and entrepreneurs communicate with impact to get noticed, grow their career, and build their business.
Recording strong video is one of the most effective ways to build authority, communicate clearly and grow your reach online. Your delivery does most of the work, but a good camera setup is what stops poor production getting in its way. Whether you are filming a quick selfie video for Instagram or a long form piece for YouTube, this article covers how camera, framing, lighting, audio, background and workflow come together to produce video that performs, and shares the exact kit I use to record from home.
Why Your Camera Setup Matters for Public Speaking Videos
Your setup directly affects how your audience perceives your message. Poor production creates friction that pulls attention away from the idea, while clear visuals and sound make viewers more likely to trust you and watch to the end. A reliable, repeatable setup also lowers the mental load while recording, so your energy goes into delivery rather than fighting the technology, which is one less thing to worry about while you are building confidence on camera. For marketers and thought leaders, the setup is not vanity, it is part of the delivery that decides whether an idea lands or gets lost.
There is a distribution payoff too. Platforms reward watch time and repeat views, and both improve when people can clearly see and hear you and the video looks intentional. Over time, a consistent setup also gives your content a recognisable look, which builds the visual memory that helps with retention and subscriber growth. For more on creating video content that grows your audience, see the Ultimate Guide to Public Speaking in Marketing.
The Key Elements of a High Quality Camera Setup
A reliable setup comes down to a few components working together: camera, stable support, lighting, audio, background and workflow. Each one limits the others, so there is no point owning a brilliant camera if your audio is poor or your framing is off. The fastest way to improve your videos is to audit each element and make small, targeted upgrades rather than spending big on one part.
Start with a camera and microphone that match how you record. Add a stable tripod at eye level, light your face with at least one soft source, and choose a background that supports your message. Then build a short pre recording checklist so you never forget a key adjustment.
Choose the Right Camera for Your Needs
The right camera depends on whether you record seated, standing, mobile or a mix. Modern smartphones shoot excellent video and are ideal for vertical or on the move recording. A good webcam, such as a 4K model, is brilliant for desk based work because it keeps the setup simple.
Prioritise reliability, ease of use, and consistent autofocus and exposure over specs you will never notice. Aim for at least 1080p, though 4K is worth it if you plan to crop or reframe afterwards. Check how a camera handles skin tones and low light before committing, because a camera that fits your workflow saves you time on every recording.
Support Your Camera With the Right Tripod or Mount
A stable support keeps your framing consistent and removes the shake that quietly undermines authority. Pick a tripod or mount that reaches eye level and locks securely. For phone recording, a clamp plus a compact tripod gives you both stability and portability, and if you move around while presenting, a small gimbal helps.
Stability also lets you compose with intention. With the frame locked, you can set your headroom and decide on tight or medium framing, then keep it consistent from video to video.
Pick a Lens or Field of View That Feels Natural
On an interchangeable lens camera, a focal length between 24 and 50 millimetres gives a natural perspective that does not distort your face. Wider lenses add context but can warp your features up close. On a webcam or phone, check the field of view and avoid extreme wide angles for the same reason.
A wider aperture separates you from the background with a gentle blur that keeps the focus on your face, but in a small room it can make focus unforgiving. Balance aperture and focal length to suit your space.
How Framing and Composition Shape Your On Camera Presence
Framing decides how connected your audience feels to you. Set the camera at eye level and frame from mid chest to the top of your head, and viewers feel like they are at a conversational distance. Leave a little headroom so the shot feels comfortable rather than crowded.
Match your framing to how you move and where the video will live. Big gestures need more headroom and width; a tighter, head and shoulders crop suits a more intimate delivery. Match it to the platform too: horizontal for YouTube and LinkedIn, vertical for Reels and TikTok. Decide before you record, not after.
Centre Yourself or Use Rule of Thirds Intentionally
Centring yourself reads as direct and authoritative, which suits a keynote or lecture style piece. The rule of thirds feels more cinematic and leaves space for on screen graphics like quotes or slides. Both work, the point is to choose deliberately so the composition supports the content rather than distracting from it.
Keep Background Depth to Avoid Flat Looking Shots
When you have the space, stand a few feet in front of your background. That gap creates depth, softens shadows, and stops the video looking like a webcam call. A subtle backlight or hair light separates you from the background and adds a final layer of polish.
Lighting Techniques That Improve Your Video Quality
Lighting is the fastest way to make a video look professional, and modest lights used well beat an expensive camera used badly. The aim is flattering, even light that makes your expressions readable and kills distracting shadows.
Work with three roles: a key light on your face, a fill to soften the shadows the key creates, and a background or hair light for separation. In a small space, a key plus a softer fill is plenty. Use a diffuser or softbox so the light is soft rather than hard and spotty.
Use Natural Light Strategically When Possible
Natural light is flattering when it is consistent. Face a large window and avoid direct sun, which throws harsh contrast across your face. The catch is that daylight shifts with the weather and the hour, so either lock in consistent recording times or combine it with artificial light to stabilise the look.
Invest in LED Panels or Ring Lights for Consistency
LED panels are compact, adjustable and let you set brightness and colour temperature for a repeatable look in any conditions. A ring light is great for close up, frontal lighting and is especially handy when filming on a phone. Two LED lights at roughly 45 degree angles either side of you cover most public speaking style videos well.
Audio Considerations That Support Your Camera Setup
Audio is non negotiable. Viewers forgive an average picture but abandon bad sound within seconds, so clean audio does more for perceived expertise than almost any camera upgrade. Pick a microphone that matches how you record and learn to place it properly.
Mind the room too. Hard surfaces bounce sound and create echo, so soften the space with a rug, curtains or a few foam panels. Always record a quick test and listen back before you commit to a full take.
Microphone Options and What They Are Best For
A USB condenser mic gives excellent clarity for desk based recording with almost no setup. A lavalier keeps your audio consistent while you move, which makes it ideal for filming to a phone. A shotgun mic on a boom keeps the mic out of frame while still capturing directional sound. Choose the type that fits how much you move and where the video will be published.
Proper Microphone Placement and Gain Staging
Place the mic close enough to capture a strong signal without it showing in frame. Clip a lavalier centrally on the chest, and position a USB mic slightly off axis to soften the popping you get on hard letters like p and b. Set your gain so your loudest speech peaks at around 60% to 75% on the meter: too high and you will hear every pop, too low and you will amplify the room noise when you boost it later.
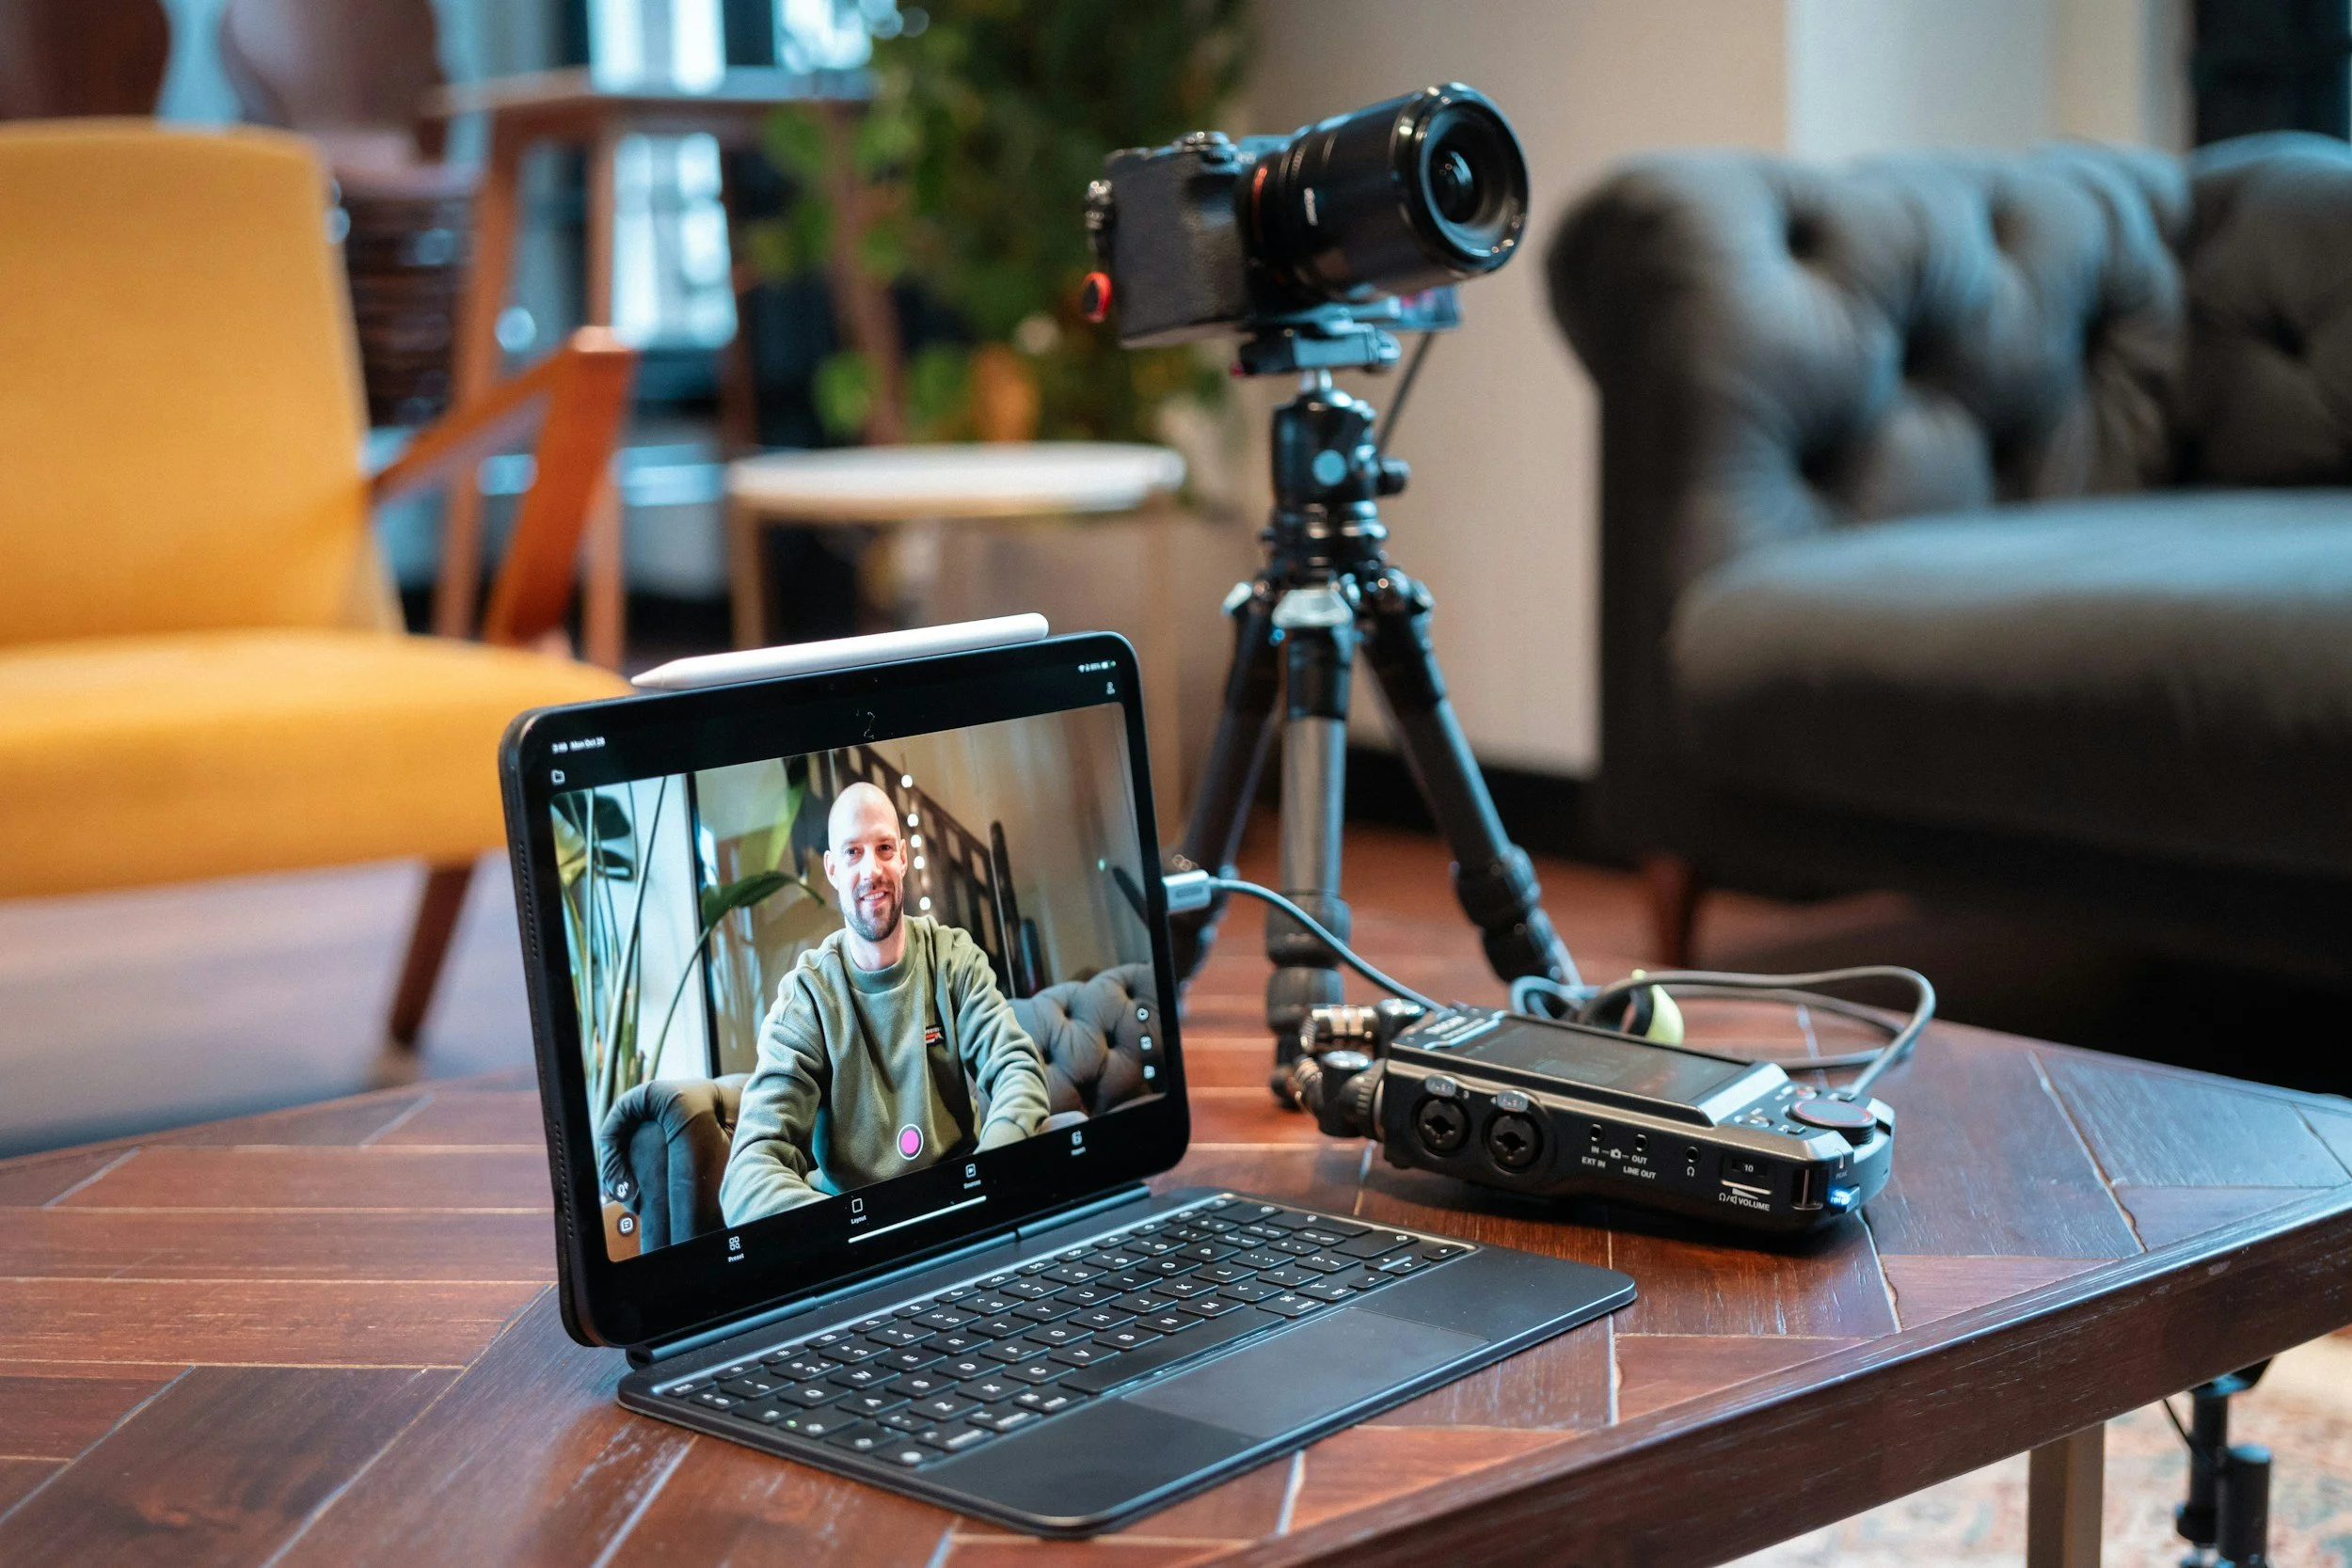
The Camera and Audio Setup I Use
You probably want something cost effective and simple, without a pile of equipment cluttering the room, especially recording from home. This is the exact kit I use:
Logitech Brio 4K webcam. Excellent quality for recording from my laptop. It is a USB plug in, so make sure you have a spare port, or a docking station.
Blue Yeti USB microphone. My main desk mic for clear voice recording. Also USB, and easy to carry to another room when I record somewhere else.
Maono USB boom arm microphone. Mounted to my desk for when I want to move the mic mid recording. It gives flexibility and saves space by clamping to the desk on a boom arm.
Qhot wireless lavalier microphone. Ideal for recording Instagram and YouTube Shorts straight to my phone. It lifts the audio quality noticeably and the clip on design makes it effortless.
10 inch ring light with phone holder. Natural light is not always an option, especially in the UK winter. This gives soft, flattering light and holds my phone if I am filming that way. For webcam recording it sits nicely just behind the screen.
None of this is expensive or complicated, and that is the point. A reliable kit you can set up in two minutes is what gets you recording consistently, which matters more than chasing the perfect gear.
How to Prepare Your Recording Environment and Workflow
Preparation prevents poor recordings. Build a pre recording checklist: charge your devices, clear notifications, set your camera and audio levels, check the background, and run a short test. If your camera or lights save presets, store them so you recreate the same look every session.
Batch your recordings where you can. Using the same setup across several videos builds visual consistency and removes the decision fatigue of starting from scratch each time.
Test Everything Before You Record
A 10 to 20 second test clip catches problems you would otherwise only find in the edit. Listen back on headphones, check your exposure and focus, and watch for stray reflections or background noise. Adjusting mic placement, exposure or framing now saves you hours later and stops you wasting a great take on a fixable fault.
Manage Comfort and Performance for Longer Takes
Recording to camera for any length of time is more tiring than it looks. Set up your chair and desk for good posture, keep water to hand, and format any notes for quick glances. If you stand, wear comfortable shoes and have a stable surface for prompts. These small comfort adjustments protect your vocal stamina and keep your energy consistent across takes.
How to Edit and Deliver Your Final Video for Maximum Impact
Get the recording right and there is far less to fix in the edit. Keep corrections light: clean up the audio with noise reduction, normalise the levels for a consistent listen, and colour correct so your skin tones look natural and match across clips.
Add captions, lower thirds and chapter markers to lift accessibility and retention. For marketing videos, place a clear call to action early as well as at the end. Then export platform specific versions, cropping for vertical and horizontal and using the right bitrate to keep quality high without bloated file sizes.
Frequently Asked Questions About Camera Setups for Speaking Videos
What is the most important part of a camera setup?
Audio, closely followed by lighting. Viewers will forgive an average picture but they abandon a video with bad sound within seconds, so a clear microphone and a quiet, soft furnished room do more for perceived authority than an expensive camera. Good lighting comes next, because flattering, even light makes your expressions readable. The camera itself matters least once it hits a reasonable standard.
Do you need expensive equipment to record good videos?
No. A modern phone or a 4K webcam, one soft light and a decent USB or lavalier microphone will get you most of the way there. The kit I use at home is deliberately simple and affordable. What matters more than price is a setup you can put up in a couple of minutes, because the easier it is, the more consistently you record.
How should you frame yourself on camera?
Put the camera at eye level and frame from mid chest to the top of your head, with a little headroom so the shot feels comfortable. Centre yourself for a direct, authoritative look, or use the rule of thirds if you want room for on screen graphics. Match the orientation to the platform: horizontal for YouTube and LinkedIn, vertical for Reels and TikTok.
What is the best lighting setup for speaking videos?
A key light on your face, a softer fill to reduce the shadows it creates, and ideally a background or hair light for separation. Two LED panels at roughly 45 degree angles cover most setups, or face a large window for flattering natural light, avoiding direct sun. Use a diffuser or softbox so the light is soft rather than harsh.
How do you set microphone levels correctly?
Place the mic close enough for a strong signal without it showing in frame, then set the gain so your loudest speech peaks at around 60% to 75% on the meter. Too high and you will hear popping on hard letters; too low and you will amplify room noise when you raise the level later. Always record a short test and listen back on headphones before the full take.
TL;DR: How to Create a Good Camera Setup for Recording Public Speaking Videos
A good camera setup is intentional, well lit and backed by clean audio, so your delivery is what people notice.
Choose reliable camera equipment that suits how and where you record.
Frame at eye level, mid chest to head, with a clean, intentional background.
Light your face with natural light or LED panels for a consistent, flattering look.
Treat audio as non negotiable, and set your levels to peak around 60% to 75%.
Keep the kit simple so you record consistently, and run a short test before every session.
More From Liam Sandford
Read my book: Effortless Public Speaking. Learn how to speak confidently, reduce stress, and turn public speaking into your competitive advantage. These actionable public speaking tips will help you improve your presentation skills for any audience.
Join the free 5-day email course: Get daily lessons packed with practical strategies to deliver effective presentations and speak confidently. This course is designed to build your public speaking skills step by step. Sign up below: